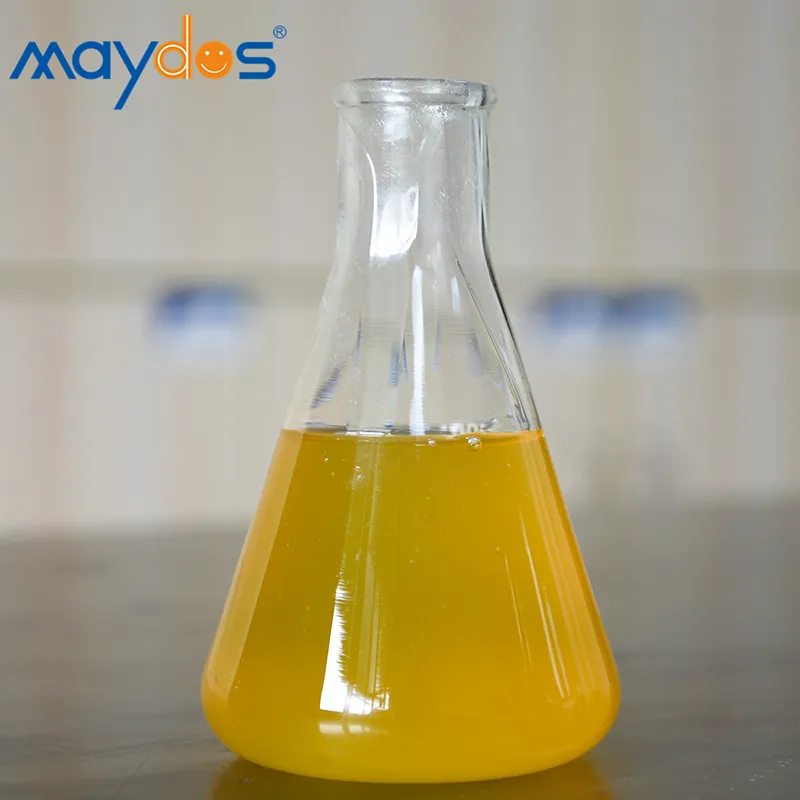


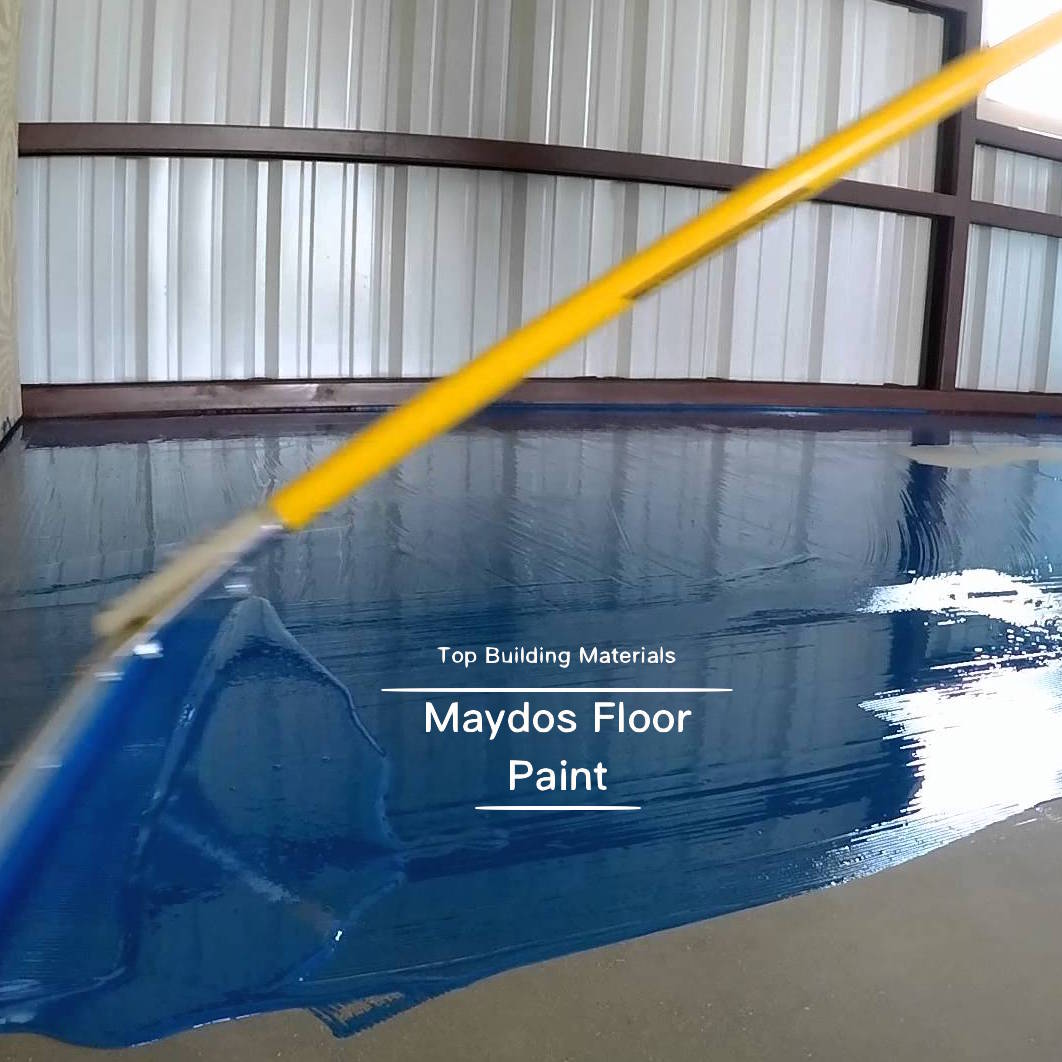


Application of Self-leveling Epoxy Floor Paint
I.Characteristics
Self-leveling epoxy floor refers to a 1mm-3mm epoxy floor coating system formed after multiple coats of coating. The product is environmental-friendly, solvent-free, non-toxic, smooth and flat, with a mirror effect, wear-resistant, pressure-resistant, chemical-resistant, easy to clean, durable, and strong in impact resistance. It is suitable for GMP pharmaceutical factories, hospitals, clean rooms, electronics factories, instrumentation and control rooms, food processing plants, cold storage rooms, warehouses, parking lots, driveways and other places.
II.Substrate Inspection
The substrate is the foundation of floor coating. The quality of the substrate will directly affect the final finish and service life of the coated floor. Therefore, the inspection and treatment of the substrate is crucial in the entire floor coating. The substrate must meet certain requirements before floor coating can be carried out. The inspection methods and standards for the substrate are as follows:
No. Test items Test method Standard
1 Flatness Use a 2-meter level ruler to check the flatness, and use a feeler gauge to measure the gap under the ruler. ≤3mm or 5mm (≤3mm is the best)
2 Moisture content 1. According to ASTM D 4263 film measurement method: cover the concrete surface with a 46mm×46mm, 100μm thick plastic film, and seal the surrounding area with tape. After 24 hours, if water droplets appear in the film or the concrete surface turns black, it means that the substrate is too wet and is not suitable for application of epoxy floor paint.
- Moisture content meter detection
- Concrete is dry for more than 28 days. ≤8%
3 Floor strength 1 Use a wire brush or metal rod to rub the base surface. If there is sand or powder, the strength is not strong enough.
2 Rebound tester ≥C25
4 Hollow Check with a small hammer No hollow sound
5 PH value Precision test paper or pH meter ≤10
6 Surface quality Visual inspection No cracks, blisters, potholes, crusting or oil stains
III.Substrate preparation
1.Purpose
Provide a certain degree of flatness and roughness to improve the adhesion between the floor and the substrate.
2.Tools and machines
Sanding machine, angle grinder, acuum cleaners, scrapers.
3.Application
(1)For floors that meet the requirements of the substrate, use a sanding machine with a suitable grinding disc to grind the entire floor, focusing on the raised parts of the floor to remove loosely bonded materials such as floor slurry and roughen the base surface, and then use a vacuum cleaner to clean the floor and corners. Dadoes and anti-pollution areas need to be well protected.
(2)Special handling:
If the moisture content is too high, it should be ventilated and dried or waterproofed. Drying can be used locally.
Chisel away the hollows and peelings on the ground, clean them up, and then use a mixture of epoxy undercoat and quartz sand to fill the gaps;
The cracks are treated by using a floor seam cutter or angle grinder to cut the cracks into V-shaped grooves. The width and depth of the floor seams after cutting should not be less than 60mm. After cleaning the grooves, fill them with the mixture of epoxy undercoat and quartz sand. If necessary, use 100 mm wide alkali-resistant mesh cloth, and pay attention to edge protection;
If there are oily impurities on the ground, they need to be cleaned with solvents or mechanical methods.
The substrate that is in direct contact with the ground must be waterproof and moisture-proof.
For smooth and dense base surfaces of terrazzo, ceramic tiles, marble and other stone materials, use a sanding machine or angle grinder to roughen the entire surface to obtain a uniform and rough surface.
When repairing or leveling the damaged concrete surface, the national standard GB 50212 should be followed. That is, when fine stone concrete is used for leveling, the strength grade should not be less than C20 and the thickness should not be less than 30mm. When the above operations are not suitable during the application process, epoxy mortar can be used for leveling;
Due to insufficient cement grade, unreasonable mortar ratio or poor maintenance, the ground strength is poor and the surface is loose. It should be cleared and re-poured with concrete.
IV.Application of sealing primer
1.Purpose
Enhance base strength, alkali resistance, and improve surface adhesion.
2.Materials and tools
Epoxy primer, mixer, trowel, roller etc.
3.Application method
Stir the two components of epoxy primer in the specified proportion, and after waiting for 20 minutes, apply 1-2 coats of primer by roller coating or scraping. Brush coating is recommended for corners and other parts with complex shapes. The coating should be even and complete, so that the primer can fully penetrate the concrete, and there should be no omission and accumulation.
V.Application of epoxy morter layer
1.Purpose
Level the ground, improve the strength of the floor coating, and enhance the wear resistance and compression resistance of the floor.
2.Materials and tools
Epoxy undercoat, mixer, trowel, angle grinder, acuum cleaners, scale etc.
3.Application method
After the primer is dry (more than 24 hours), remove the impurities on the surface, stir the mortar material in the specified proportion, and then scrape it with a steel scraper or spatula. After cure (more than 24 hours), use an angle grinder with sandpaper to grind the marks and other defects. Depending on the ground conditions and the required thickness, scrape 1 to 2 times, and finally vacuum and clean. The scraping should be even, flat and without protrusions.
VI.Application of epoxy putty layer
1.Purpose
Repair and level the ground to improve its flatness and enhance the mechanical strength of the floor.
2.Materials and tools
Epoxy undercoat, mixer, trowel, angle grinder, acuum cleaners, scale etc.
3.Application method
After the mortar layer is dry (more than 24 hours), remove the impurities on the surface, mix the putty material in the specified proportion, and then scrape it with a steel trowel or spatula. After cure for (more than 24 hours), polish the marks and other defects. Depending on the ground conditions, scrape 2 to 3 times, and finally vacuum and clean. The scraping should be uniform, without holes,trowel marks, etc.
VII.Application of self-leveling epoxy topcoat
1.Purpose
Meet usage requirements and express product effects.
2.Materials and tools
Epoxy self-leveling topcoa, mixte, toothed trowel, roller, scale etc.
3.Application method
After the intermediate coating is dry (more than 24 hours), stir the epoxy self-leveling coat in the specified proportion, mature for 5 to 10 minutes, filter and apply with a special toothed trowel. If necessary, a defoaming roller can be used to assist in defoaming.
VIII. Precautions
- During application, the relative humidity on site should be lower than 85% and the ambient temperature should be above 5 ℃.
- If there are on-site cross-operation or parts that need protection at the construction site, necessary measures should be taken to protect them, and protective tape should be affixed to places that do not need painting.
- During the surface hardening period after application (within 24 hours), personnel are strictly prohibited from entering to avoid leaving traces;
- If a thinner is required during construction, the special thinner provided by the manufacturer must be used.
- After application, all debris and empty cans outside the site must be cleaned up.
- Construction workers must take safety precautions during construction and avoid direct skin contact with epoxy materials. If epoxy materials accidentally enter the eyes, they should be rinsed immediately with water and go to the hospital for treatment.
- Materials should be placed indoors to avoid wind and rain. If they must be placed outdoors, they should be neatly stacked on pallets and covered with tape to prevent water from entering. They should not be left there for long periods of time.
8.When storing the product, it should be kept ventilated, dry, frost-proof, and protected from
direct sunlight, fire and heat sources.
9.This product is a two-component product and should be used immediately after preparation. The prepared coating should be used within 4 hours.
10.The shelf life of the product is one year. It should be kept airtight in a cool and dry place, and take measures to prevent moisture and sunlight.
VIV. Maintenance tenance
Epoxy flooring is a high-value, high-quality, high-performance product that requires careful care and maintenance. As long as it is used properly, it can be kept as good as new and its service life can be extended. Therefore, our company recommends:
1.After the floor application is completed, people can go on the floor three days later, and it can be officially put into use seven days later (based on 25℃, the opening time needs to be appropriately extended at low temperatures). During the maintenance period, protection should be taken to isolate pollution sources.
2.People entering the floor must change their shoes (to avoid bringing mud and sand into the room and scratching the floor).
3.All hard objects, such as equipment, iron tables, iron chairs, iron shelves, etc., must be wrapped in plastic to avoid scratching the ground during transportation and use. The wheels of carts and carts should use hard or elastic rubber wheels, and they should be used separately inside and outside the factory.
4.When cleaning the floor, use a soft mop or a wet/dry vacuum cleaner. - If wear or scratches are caused by long-term use, small areas can be repaired locally. If the area is large, it is recommended to re-apply the surface.